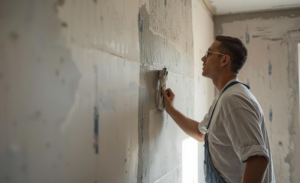
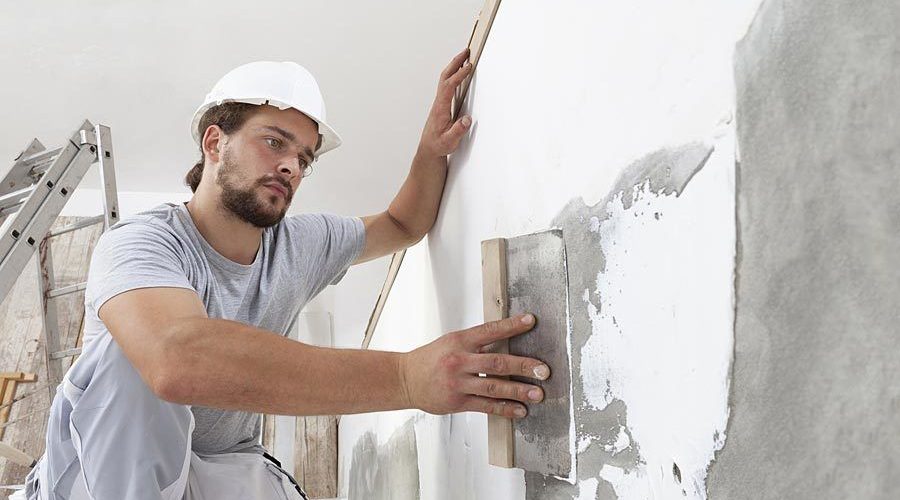
Preparing your home properly before a plastering project begins can make a significant difference to both the quality of the final result and the overall experience. Whether you’re having a single room skimmed or undertaking a whole-house renovation, taking time to prepare will help your plasterer work efficiently and protect your belongings from dust and debris.
Clear the Room Completely
The first and most important step is to remove as much furniture and belongings as possible from the rooms being plastered. While professional plasterers will work carefully around obstacles, an empty room provides the best access and reduces the risk of accidental damage to your possessions. If you have large furniture items that cannot be moved, gather them in the centre of the room and cover them with dust sheets. Remember that plastering creates fine dust that can settle on surfaces, so the more you can remove, the better.
Protect Your Floors
Even the tidiest plasterers will create some mess, so protecting your flooring is essential. If you have new carpets or wooden floors you’re particularly concerned about, consider using heavy-duty protective covering. Most professional plasterers will bring their own dust sheets, but for extra peace of mind, you might want to lay additional protection, especially in hallways and areas that will see heavy foot traffic during the project.
Ensure Good Access
Make sure your plasterer has clear access to the work areas, parking, and water supply. If you live in a terraced house or apartment, inform neighbours about the upcoming work as there may be some noise and activity. Clear pathways from the entrance to the rooms being plastered, and if work is happening upstairs, protect stairways with covering to prevent plaster marks on walls.
Remove Wall Fixtures
Take down pictures, mirrors, curtains, and curtain rails before the plasterers arrive. Light fixtures and electrical outlet covers should also be removed where possible, though professional plasterers can work around these if needed. If you’re unsure about removing electrical fixtures safely, ask your plasterer during the quote stage whether they can handle this or if you need to arrange it separately.
Plan for Ventilation and Drying Time
Freshly plastered walls need proper ventilation to dry correctly. Ensure windows can be opened, and plan for adequate drying time before decorating. Your plasterer will advise on specific drying times, but typically you should wait at least two weeks before painting. During this period, maintain good air circulation but avoid creating draughts that are too strong, as this can cause cracking.
Communicate Special Requirements
If you have specific concerns about access times, pets, or particular areas you want the plasterer to focus on, communicate these clearly before work begins. Professional plasterers like Guy Irvine Plastering appreciate clear communication and will work with you to ensure the project runs smoothly from start to finish.
By following these preparation steps, you’ll help ensure your plastering project runs efficiently, with minimal disruption and excellent results. A well-prepared space allows your plasterer to focus entirely on delivering the smooth, professional finish you’re paying for.